Roblox MCP — MCP Server for Roblox Studio | AI Game Development with Claude, Codex, Cursor & Gemini
WROX is an MCP server that lets AI coding agents control a live Roblox Studio session — create and edit scripts, instances, terrain, lighting, assets, audio, and animations via natural language.
Action-based tool surface · Bidirectional sync · Automated playtest · Multi-place support
English | 한국어 | 日本語 | Español | Português | Bahasa Indonesia
Why WROX (Weppy Roblox MCP)?
AI coding agents like Claude, Codex, and Gemini are powerful — but they cannot see or modify anything inside Roblox Studio. The DataModel, scripts, terrain, and lighting are all invisible to external tools. Without a bridge, AI can only generate code snippets that you must paste manually.
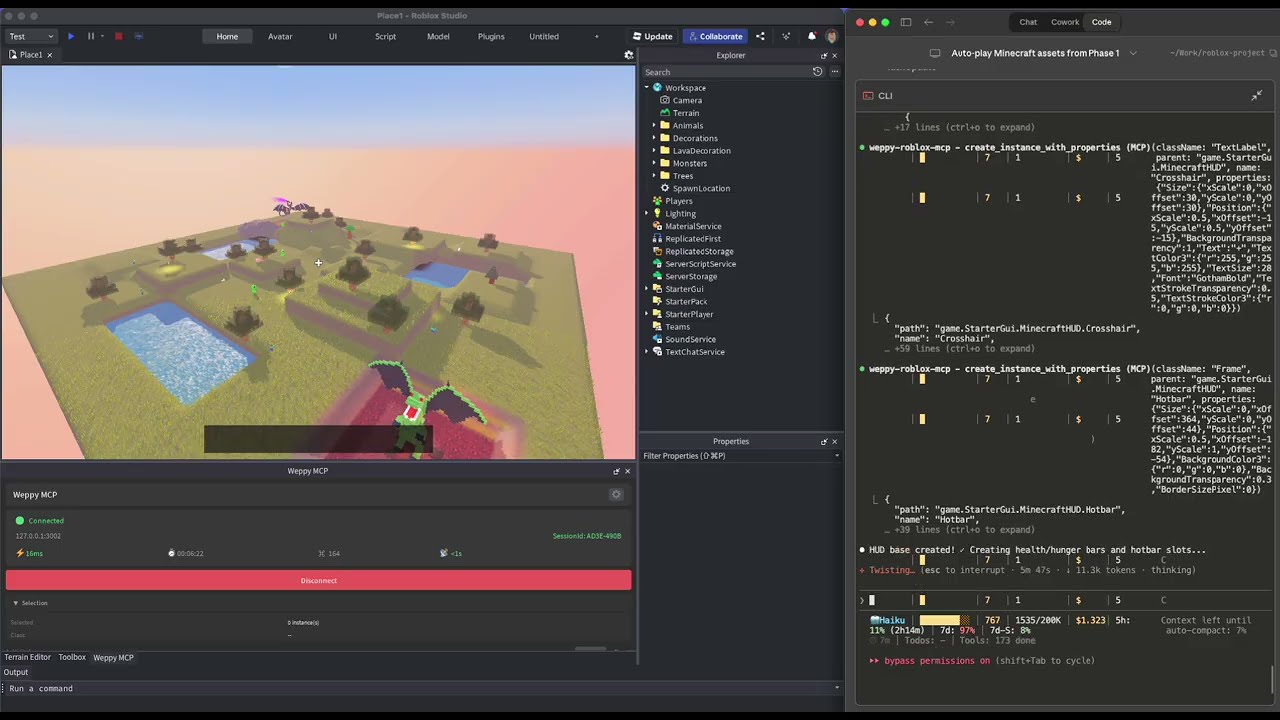
WROX is a bridge between AI agents and Roblox Studio. AI directly creates and modifies instances, scripts, properties, terrain, and more inside Studio, and the changes are reflected immediately in Studio and the dashboard so you can see exactly what changed.
No copy-pasting code. AI does the work, you review the results.
Quick Install
macOS / Linux
curl -fsSL https://raw.githubusercontent.com/hope1026/weppy-roblox-mcp/main/install.sh | bash
Windows (PowerShell)
irm https://raw.githubusercontent.com/hope1026/weppy-roblox-mcp/main/install.ps1 | iex
Then reopen your AI app and restart Roblox Studio.
Automatic MCP registration supports Claude Code, Claude Desktop, Cursor, Codex CLI/App, Gemini CLI, and Antigravity.
If PowerShell execution is blocked on Windows, use the installation guide below. If you're using the ZIP package, you can run setup-plugin.sh / setup-mcp.sh on macOS or Linux, or setup-plugin.bat / setup-mcp.bat on Windows.
Manual Install
If the one-line install does not work, or automatic installation is not available in your environment, use the installation guide below.
Step 1 — Install the Roblox Studio plugin (bridge between Studio and AI):
Plugin Installation Guide
Step 2 — Register the MCP server with your AI app:
npx -y @weppy/roblox-mcp
Any MCP-compatible AI client works. The server command is npx -y @weppy/roblox-mcp.
Compatibility
| Claude Code | Claude Desktop | Cursor | Codex CLI | Gemini CLI | Antigravity |
|---|
| ✅ | ✅ | ✅ | ✅ | ✅ | ✅ |
Requirements: Node.js 18+, Roblox Studio, Windows 10+ or macOS 12+
What It Does
1) MCP Tools: Direct execution in Studio from natural language
AI can directly handle scripts, instances, properties, terrain, lighting, assets, audio, and animation inside Studio.
- "Add particles + sound + cooldown when the player jumps."
- "Build a boss arena at map center and place collision-safe spawn points."
- "Change this module interface and update every dependent script."
- "Generate terrain with mountains and rivers, then place spawn points on flat areas."
- "Search the Creator Store for a sword model and insert it into StarterPack."
2) Sync: Keep full project context stable for AI
AI works from a synchronized local mirror, so multi-file updates stay consistent.
- Basic: one-way sync (Studio -> Local)
- Pro: bidirectional sync + per-type Direction/Apply Mode + history + multi-place

3) Playtest: Let AI run and verify tests automatically
AI can control Roblox Studio playtests directly. It can start and stop Play (F5) or Run (F8), inject test scripts, collect logs, and generate local reports automatically.
- "Start a Run-mode playtest and check whether the NPC reaches the target."
- "Write a test that verifies the SpawnLocation is above the ground and run it."
- "Validate that the script I just changed runs without errors in playtest."

4) WROX Dashboard: Monitor AI work in real time